

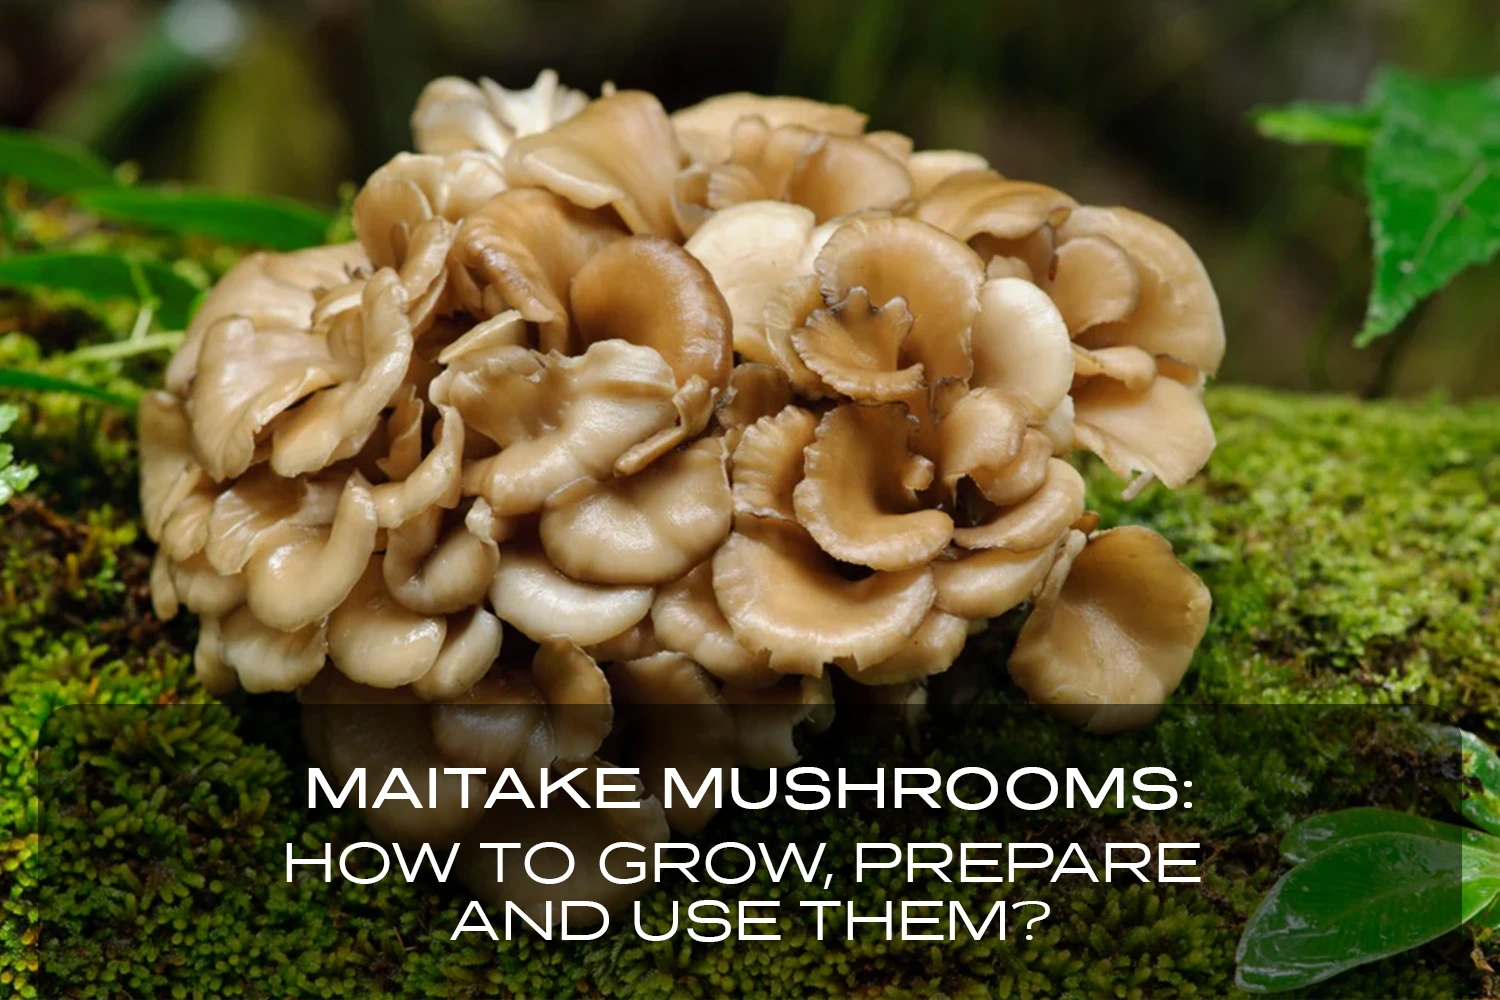
 12 min read
Growing maitake mushrooms doesn’t have to be complicated. These mushrooms, also called “Hen of the Woods,” are packed with flavor and good-for-you nutrients, and they’re actually pretty simple to grow once you know how.
We’ll show you how to grow maitake step by step, how to prepare them so they taste amazing, and a few easy ways to use them. Let’s get into it!
Why It’s Worth Growing Maitake Mushrooms at Home?
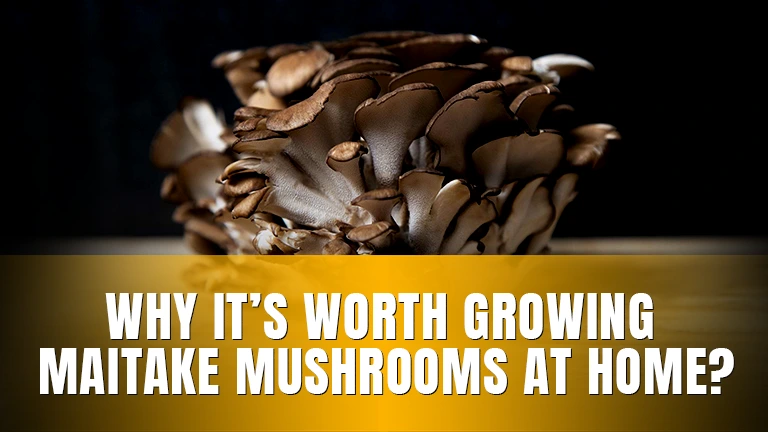
Because they taste amazing, are super healthy, and can save you a ton of money. Maitake mushrooms have this meaty texture and a rich, buttery flavor that makes everything—soups, pasta, salads—taste better.
Plus, they’re packed with vitamin D, antioxidants, and anti-inflammatory properties. Growing them at home means you get fresh, clean mushrooms whenever you want. No chemicals, no guessing—just good food with good benefits. Whether you’re cooking or boosting your health, maitake mushrooms are worth it.
What Do You Need To Start Growing?
- Pre-Made Sawdust Blocks or Grow Bags: You can buy these ready-to-go online. They’re already filled with the right nutrients for maitake to grow.
- Maitake Substrate: Choose hardwood pellets or sawdust spawn, which works perfectly with these bags.
- Humidity Tent or Simple Setup: A clear plastic bag or container can keep the environment humid, which Maitake loves.
- Spray Bottle: To mist the growing area and maintain moisture.
How Does It Work?
- Inoculate the Bag: If you’re starting from scratch, mix the maitake spawn into the sawdust inside the grow bag. Seal it tightly, but make a few small holes for air exchange.
- Keep It Humid: Place the bag in a spot with indirect light and keep the humidity up by misting regularly.
- Wait for Growth: Maitake takes some time to fruit—anywhere from a few weeks to a few months—but the bag keeps everything tidy and easy to monitor.
- Harvest: Once the mushrooms appear and look fully grown, cut them off, and they’re ready to cook or dry.
This method is super simple, doesn’t require logs or heavy equipment, and works great for anyone who wants to grow maitake at home with minimal effort!
How to Prepare the Substrate for Maitake Mushrooms
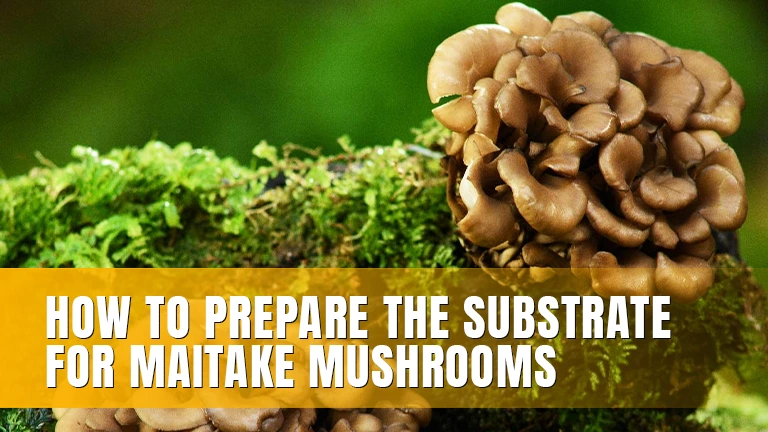
Getting the right substrate is super important because it’s what the mushrooms feed on while they grow. Luckily, it’s not that hard. If you’re using sawdust or grow bags, you’ve already got most of what you need to get started.
Which Substrates Work Best?
Maitake mushrooms love hardwood, so anything like oak or elm-based sawdust works great. Here’s what you can use:
- Hardwood Sawdust
This is the go-to option. You can grab hardwood pellets or pre-made sawdust blocks online or at garden stores. - Mixing in Bran
Adding something like wheat bran or rice bran to the sawdust gives it a nutrient boost. Maitake grows faster and healthier this way. - Pre-Made Blocks
Don’t want to mix stuff? Just buy pre-made sawdust blocks with extra nutrients. They’re easy to use and save a lot of time.
How to Mix and Sterilize Your Substrate
If you’re making your own substrate, here’s the quick and easy way to do it:
- Get Your Ingredients
You’ll need hardwood sawdust or pellets, bran (optional), and water. That’s it. - Mix It Up
Combine 4 parts sawdust with 1 part bran in a big bowl. Slowly add water while mixing until it feels damp, like a squeezed-out sponge. You don’t want it soaking wet. - Bag It
Fill grow bags or jars about 80% full with the substrate mix. Don’t pack it too tight—you need air pockets for the mushrooms to grow. - Sterilize It
- With a pressure cooker: Sterilize the bags at 15 PSI for 90 minutes. This gets rid of any bacteria or mold.
- Without a pressure cooker: Steam them in a big pot with water for 2–3 hours. It’s not perfect, but it works if you’re just starting out.
- Let It Cool
Don’t skip this step! If the substrate is still hot, it’ll kill your mushroom spawn. Wait until everything is completely cool before moving on.
Once the substrate is ready, you’re good to go for the next step: adding the maitake spawn and watching the magic happen!
How to Inoculate Maitake Substrate?

Getting the mushroom spawn into the substrate is where the magic starts. This is called inoculation, and it’s how you introduce the maitake mycelium (the “seeds” of the mushroom) to its food source. Don’t worry—it’s not as tricky as it sounds!
Liquid Culture vs. Spawn: What’s the Difference?
- Liquid Culture
This is mycelium suspended in a nutrient-rich liquid. You inject it into the substrate with a syringe. It’s quick and spreads evenly but needs a super clean setup to avoid contamination. - Grain Spawn
This is mycelium already growing on grains like rye or millet. You mix it straight into the substrate. It’s easier for beginners because it’s less prone to contamination and spreads well in sawdust.
Step-by-Step Inoculation Process
- Set Up Your Workspace
Clean your hands, tools, and workspace with isopropyl alcohol. Contamination is your worst enemy here. - Prepare Your Substrate
Make sure the substrate is fully cooled after sterilization. Warm substrate will kill the mycelium. - Choose Your Method
- For Liquid Culture: Use a sterile syringe to inject the culture evenly throughout the substrate. Aim for multiple spots to help it spread faster.
- For Grain Spawn: Break up the grain spawn into small chunks and mix it evenly into the substrate.
- Seal It Up
- If using bags, seal them with a rubber band or zip tie, leaving the filter patch exposed for airflow.
- If using jars, loosely screw on the lids or use breathable covers like micropore tape.
- Label It
Write the date and type of mushroom on each bag or jar so you can track its progress. - Store for Incubation
Place the inoculated substrate in a warm, dark place (around 65–75°F). In 2–4 weeks, you’ll start to see white mycelium spreading through the substrate. That’s how you know it’s working!
Once your substrate is fully colonized with mycelium, you’re ready for the next stage: fruiting. That’s when the actual mushrooms start popping up! Keep it clean and patient, and you’ll be harvesting maitake in no time.
How to Monitor the Fruiting?
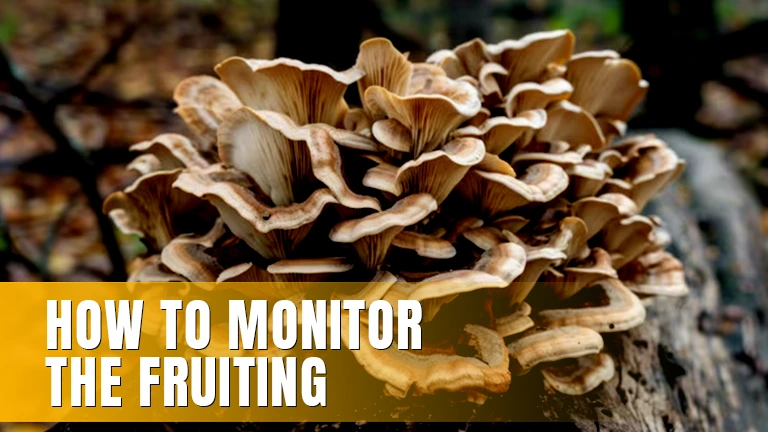
Keeping an eye on your fruiting is important to make sure everything is growing as it should. Here’s how you can do it:
- Look for White Growth
After inoculation, you should start seeing white, web-like mycelium spreading through the substrate within 7–14 days. This is a good sign that your mushrooms are growing. - Check for Consistency
The mycelium should spread evenly across the substrate. If you notice bald spots or uneven growth, it could mean the substrate wasn’t mixed well or the conditions aren’t ideal. - Watch for Contamination
Keep an eye out for anything unusual like green, black, or pink spots. These are signs of mold or bacteria, and you’ll need to discard any contaminated substrate to prevent it from spreading. - Maintain Proper Conditions
- Temperature: Keep it between 65–75°F. Too cold, and the growth slows; too hot, and you risk contamination.
- Humidity: Ensure the environment stays humid, especially if you’re using bags or jars.
- Airflow: Allow some fresh air exchange, but avoid direct exposure to unfiltered air.
Once the substrate is fully colonized—meaning it’s covered with a thick layer of white mycelium—it’s time to move on to the fruiting stage.
When Is the Right Time to Harvest?
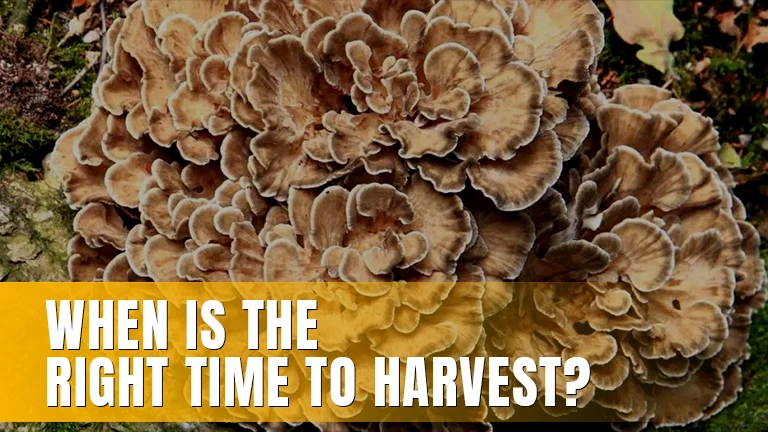
Harvesting maitake mushrooms is all about timing. Pick them too early, and you’ll miss out on their full flavor and size. Wait too long, and they might start to degrade.
- Check the Size
Maitake mushrooms grow in clusters, forming a large, fan-shaped head. They’re ready to harvest when the caps are fully formed but before they start to discolor or dry out. This is usually 4–6 weeks after fruiting starts. - Look at the Edges
The edges of the caps should still look moist and firm, not brittle or curling upward. This indicates they’re at their peak freshness. - Color
A healthy maitake cluster is light to medium brown. If the mushrooms start turning darker or look slimy, they’re past their prime. - How to Harvest
- Use a clean knife or scissors to cut the mushroom cluster at the base, close to the substrate. Avoid pulling or twisting, as this can disturb the substrate and slow down future flushes.
- Handle them gently to avoid damaging the delicate caps.
- Storage Tips
- Fresh: Store in a paper bag in the fridge for up to a week.
- Dried: Use a dehydrator or air-dry them to extend their shelf life.
Harvesting maitake mushrooms at the right time means better flavor, texture, and quality. Keep an eye on their growth, and you’ll enjoy a delicious, fresh harvest!
What Are the Most Common Problems When Growing Maitake?
Growing maitake mushrooms can be fun, but like any project, it comes with its challenges. Here are the most common problems growers face and how to deal with them:
1. Contamination
- What Happens? Mold, bacteria, or other fungi can invade your substrate, stopping maitake from growing properly.
- How to Fix It:
- Always sterilize your tools, substrate, and containers before use.
- Work in a clean area and use gloves to reduce contamination risks.
2. Slow or No Mycelium Growth
- What Happens? Your substrate isn’t colonizing, or it’s taking too long.
- Why It Happens:
- The temperature might be too high or low.
- The substrate could be too wet or too dry.
- How to Fix It:
- Keep the incubation temperature between 20–24°C (68–75°F).
- Ensure the substrate is moist but not soggy.
3. Pinning Issues
- What Happens? The mycelium grows, but you don’t see fruiting bodies (mushrooms).
- Why It Happens:
- The humidity is too low.
- There’s not enough airflow.
- How to Fix It:
- Increase the humidity to 80–90%. Use a humidifier or mist the area regularly.
- Ensure proper airflow to trigger fruiting.
4. Premature Drying of Substrate
- What Happens? The substrate dries out before mycelium can fully colonize.
- Why It Happens:
- Low humidity in the growing area.
- How to Fix It:
- Cover your substrate with a lid or plastic wrap to retain moisture.
- Regularly check and mist if needed.
5. Mushrooms Look Small or Deformed
- What Happens? Maitake clusters are smaller than expected or have odd shapes.
- Why It Happens:
- Lack of nutrients in the substrate.
- Stress from inconsistent temperature or humidity.
- How to Fix It:
- Use a nutrient-rich substrate like a sawdust and bran mix.
- Keep growing conditions stable.
6. Pest Problems
- What Happens? Bugs like gnats or mites invade your growing setup.
- How to Fix It:
- Keep your growing area clean and seal it to prevent pests.
- Use sticky traps or natural pest repellents if needed.
7. Substrate Turns Green or Black
- What Happens? Discoloration appears on the substrate, often a sign of mold or contamination.
- How to Fix It:
- Discard the contaminated substrate immediately to prevent it from spreading.
- Start fresh with sterilized equipment and substrate.
8. Fruiting Takes Too Long
- What Happens? Everything seems fine, but the mushrooms are slow to appear.
- Why It Happens:
- Temperature or light conditions might not be optimal.
- How to Fix It:
- Ensure the fruiting area gets indirect light and a consistent temperature of around 10–15°C (50–59°F).
How to Cook Maitake Mushrooms?
Before you cook maitake mushrooms, you’ll need to clean and prep them. Here’s how to do it:
- Gently Brush Off Dirt
Use a soft brush or a damp paper towel to remove any dirt from the mushrooms. Avoid soaking them in water since they can absorb it and lose their texture. - Trim the Base
Cut off the tough, woody part at the base of the cluster. Keep the rest intact or separate into smaller pieces, depending on your recipe. - Check for Bugs
If you’re working with wild-foraged maitake, inspect for any bugs hiding in the crevices. A quick rinse under cold water can help remove them, but pat the mushrooms dry immediately. - Portion as Needed
Maitake mushrooms can be cooked whole, torn into smaller pieces for a rustic look, or sliced for even cooking.
What Are the Best Recipes for Maitake?
Maitake mushrooms are super versatile and work well in many dishes. Here are some easy and tasty ways to cook them:
- Sautéed Maitake
- Heat a pan with olive oil or butter.
- Add garlic and thyme for flavor.
- Toss in the mushrooms and cook over medium heat until golden brown (about 5–7 minutes).
- Sprinkle with salt, pepper, and a squeeze of lemon before serving.
- Perfect as a side dish or topping for steak, pasta, or rice.
- Maitake Tempura
- Mix a simple tempura batter using flour, cold water, and a pinch of salt.
- Dip the maitake clusters in the batter and fry in hot oil until crispy and golden.
- Serve with soy sauce or a tempura dipping sauce for a crunchy snack.
- Maitake Miso Soup
- In a pot, simmer dashi (Japanese soup stock) with sliced maitake mushrooms and tofu.
- Add miso paste and stir until dissolved.
- Garnish with green onions and enjoy a warm, comforting bowl of soup.
- Maitake Stir-Fry
- Heat a wok with sesame oil.
- Toss in maitake mushrooms, bell peppers, snap peas, and your favorite protein (like chicken or tofu).
- Add soy sauce, ginger, and a bit of honey for a sweet-savory glaze.
- Serve with steamed rice or noodles.
- Maitake Pizza
- Use maitake mushrooms as a pizza topping.
- Spread tomato sauce over the crust, add mozzarella cheese, and top with sautéed maitake mushrooms and fresh herbs.
- Bake until the crust is crispy and the cheese is bubbly.
These recipes highlight maitake mushrooms’ rich, earthy flavor and meaty texture, making them a fantastic addition to any meal.
Conclusion
Growing maitake mushrooms at home doesn’t have to be complicated. Once you figure out the basics and give it a shot, you’ll see it’s actually pretty rewarding. Plus, you’ll end up with fresh, tasty mushrooms you can cook up however you like.
Sure, you might mess up a little along the way—who doesn’t? But that’s part of learning. Just keep it clean, be patient, and before you know it, you’ll have maitake mushrooms growing like a pro. So grab what you need, start small, and enjoy the process. You’ve got this!