
 11 min read
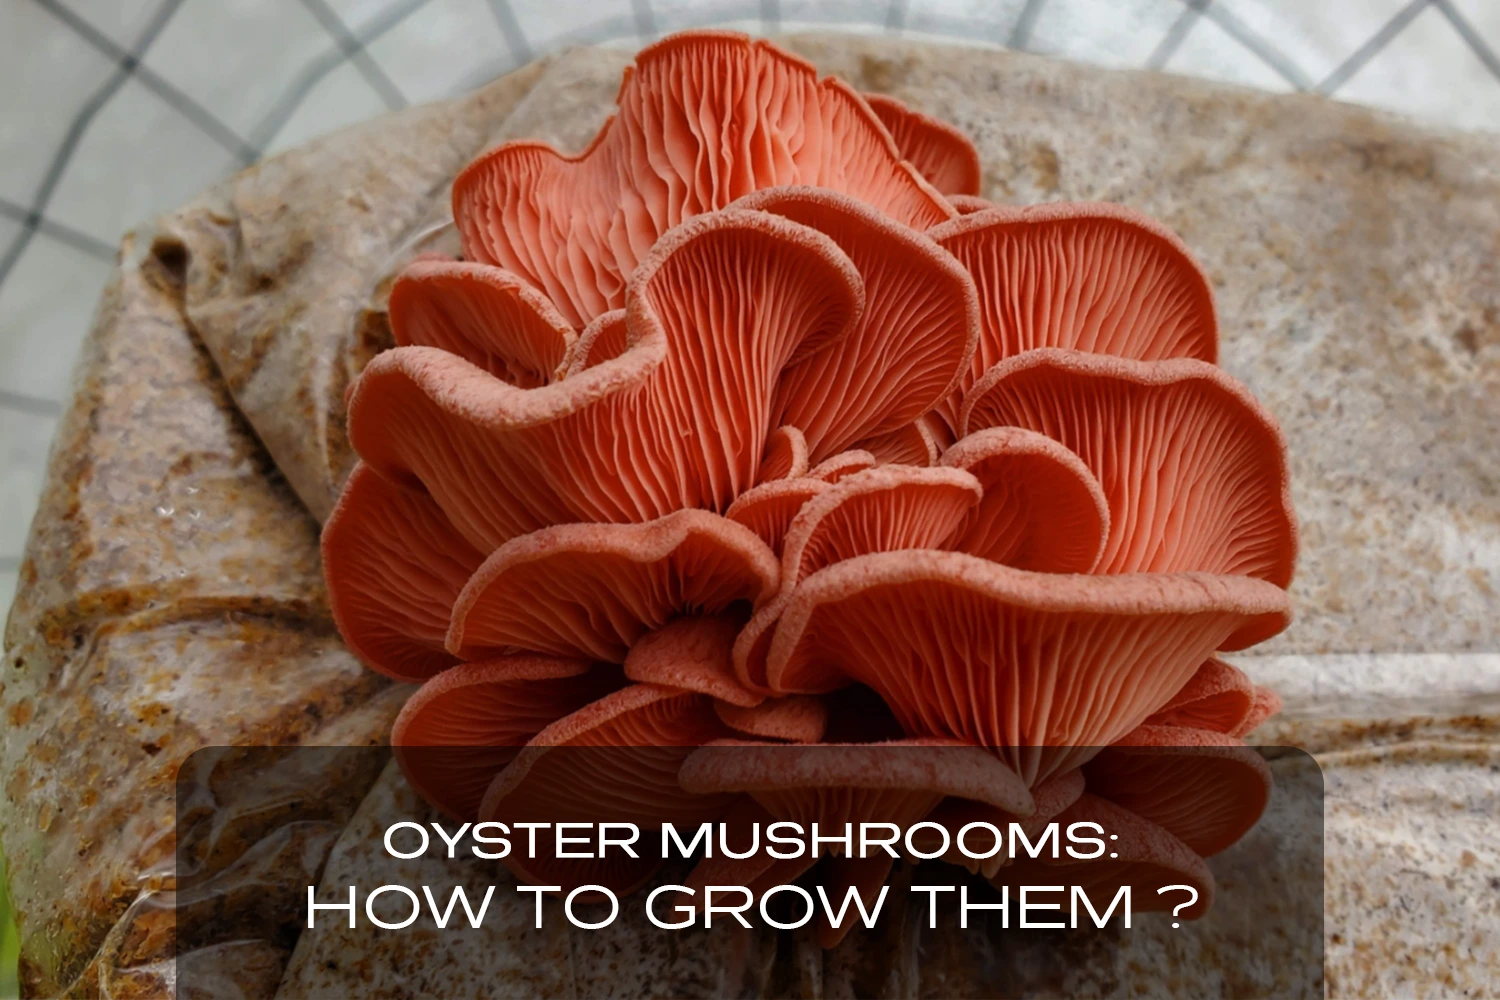
Growing oyster mushrooms is easier than you’d think. They’re super tasty and healthy, and you don’t need any fancy setup to get started.
Whether you’re looking to save some cash, try something new, or just love mushrooms, oyster mushrooms are a great choice to grow at home.
In this guide, we will explain everything you need—from picking the right type of oyster mushroom to setting up your grow space and finally enjoying your harvest. Let’s get started.
What Do You Need to Start Growing Oyster Mushrooms?
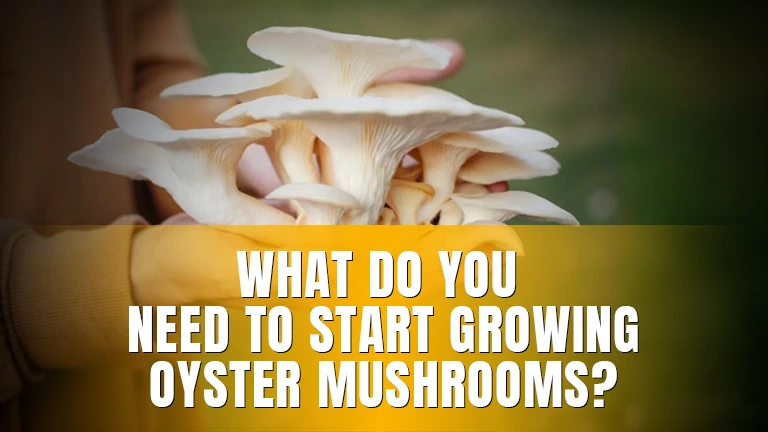
Before you start, you’ll need to grab a few basics. It’s not much, but having the right stuff makes the process easier.
How To Choose The Right Oyster Mushroom Variety?
Oyster mushrooms come in a bunch of different types. Here’s a quick breakdown:
- Pearl Oyster Mushrooms: These are classic and super easy to grow, especially in cooler temps.
- Blue Oyster Mushrooms: Fast growers that like it chilly, around 45–65°F (12–18°C).
- Pink Oyster Mushrooms: Bright pink and grow fast in warm places, around 64–86°F (18–30°C).
- Golden Oyster Mushrooms: These are sunny yellow and love the same warm range as pinks.
- King Oyster Mushrooms: They’re thick and meaty but a little trickier, growing best in cooler temps.
How To Pick the Best Substrate For Growing Oyster Mushrooms?
Oyster mushrooms need something to grow on, and that’s the substrate. Here are some options:
- Straw (Dried stalks of grain): Cheap, easy to find, and mushrooms love it.
- Sawdust Pellets: Super simple and already clean—just add water.
- Coffee Grounds: Perfect if you’ve got fresh ones (not the old moldy stuff).
- Cardboard: Easy to use, especially for small-scale grows.
Just use whatever’s easiest for you to get your hands on.
What Are the Essential Supplies?
Here’s what you’ll need to get going:
- Oyster Mushroom Spawn: This is your starting point. Grain spawn is great if you want more mushrooms.
- Growing Bags or Buckets: Get bags with air filters or poke holes in a bucket for airflow.
- Sterilization Tools: Boiling water or a pressure cooker will do the trick to keep things clean.
- Gloves and Cleaning Supplies: Clean hands, clean workspace, better mushrooms.
Once you’ve got all your stuff, you’re ready to get started.
How to Prepare the Substrate for Oyster Mushrooms?
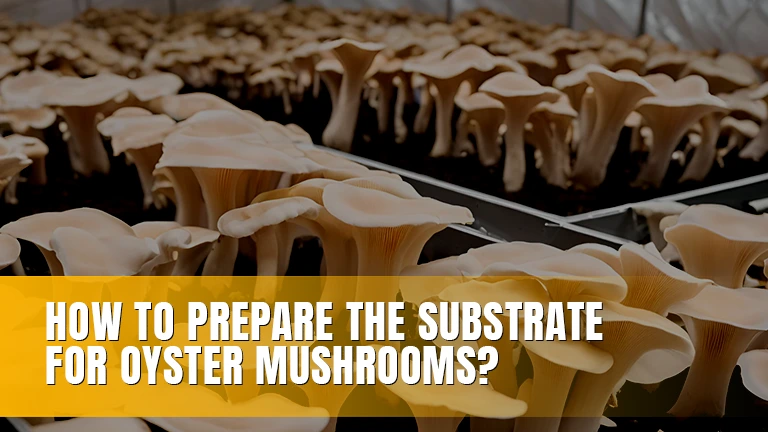
The substrate is the food source that helps your oyster mushrooms grow strong and healthy. Whether you’re using straw, sawdust pellets, or coffee grounds, preparing the substrate properly is the first big step. Here’s how to do it for each option.
- Straw and Cardboard
Straw and cardboard are easy to get and work great for beginners. Here’s what you need to do:
- Chop It Up: Cut straw into small pieces (1-2 inches) or tear cardboard into strips. Smaller pieces give the mycelium more surface area to grow on.
- Pasteurize: Heat water to 65-80°C (149-176°F) and soak the straw or cardboard for 1-2 hours. This kills bacteria and mold but keeps good microbes alive.
- Drain and Cool: Squeeze out the extra water until it feels damp but not dripping. Let it cool before moving to the next step.
- Sawdust Pellets
Sawdust pellets are super beginner-friendly and ready to use with minimal prep.
- Hydrate the Pellets: Add an equal weight of water to the pellets (e.g., 1 kg of pellets, 1 liter of water). Let them soak for 30 minutes.
- Break It Up: Once hydrated, mix the pellets into fluffy sawdust. Make sure there are no clumps.
- Check Moisture: Use the squeeze test—grab a handful and squeeze it. A few drops of water should come out, but it shouldn’t drip excessively.
- Coffee Grounds
Fresh coffee grounds can be a fantastic substrate, but you have to use them correctly.
- Use Fresh Grounds: Only use grounds within 24 hours of brewing. Older grounds can grow mold.
- Mix with Another Substrate: Coffee grounds alone are dense, so mix them with 20-50% straw or sawdust for better airflow.
- Check Moisture: Coffee grounds are usually ready to use in terms of moisture, but give them a squeeze to make sure they’re not too wet.
Once your substrate is prepared, you’re ready for the next step: inoculation, where you mix your spawn into the substrate to start growing your mushrooms!
Inoculation: How to Get Your Spawn Started?
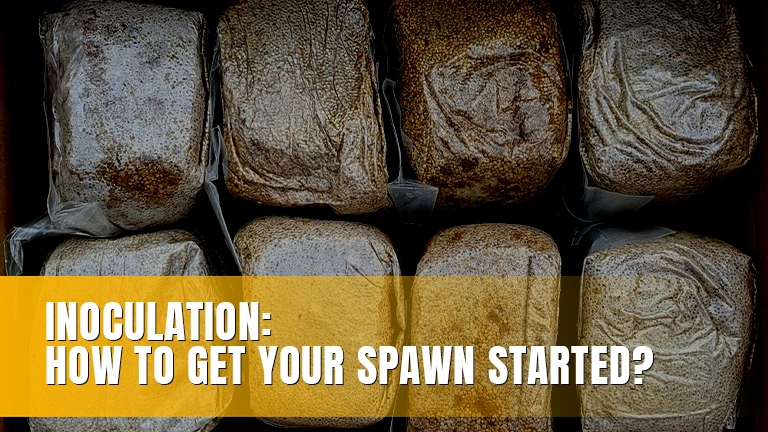
Inoculation is where you mix your mushroom spawn with the prepared substrate. This is when the growing process officially begins, so keeping everything clean and properly set up is key.
How to Mix Spawn with Substrate?
Getting the right moisture and mixing evenly are crucial for success. Here’s how to do it:
- Check Moisture Levels: Squeeze a handful of your prepared substrate. A few drops of water should come out—too much, and it’s too wet; too little, and it’s too dry. Adjust if needed.
- Sanitize Your Workspace: Clean your hands, tools, and surfaces with 70% alcohol or soap and water. Contamination is your enemy here.
- Add Spawn to Substrate: Use a ratio of about 1 part spawn to 5 parts substrate (e.g., 200 grams of spawn for 1 kg of substrate). Sprinkle the spawn evenly over the substrate.
- Mix Thoroughly: Using gloved hands or a clean spoon, mix the spawn and substrate together until the spawn is evenly distributed. Don’t leave clumps of spawn—it needs to touch the substrate to grow.
Filling and Sealing Your Growing Bags or Containers
Once your substrate and spawn are mixed, it’s time to load them into your growing containers.
- Choose Your Container: Use mushroom cultivation bags, buckets, or any clean, breathable container. If using bags, make sure they have tiny holes or filter patches for airflow.
- Fill the Containers: Scoop the spawn-substrate mix into your container, filling it about 75-80% full. This leaves room for airflow and mushroom growth.
- Compress Lightly: Gently press the mix down to remove big air pockets, but don’t pack it too tightly—mushrooms need airflow to grow.
- Seal the Bags or Containers:
- For bags: Use a rubber band, twist tie, or heat sealer to close the top.
- For containers without lids: Cover with breathable plastic or poke small holes for air exchange.
- Label Your Bags: Write the date and mushroom type on each bag or container so you can track your progress.
With your bags or containers sealed and ready, you’re set for the next phase—incubation, where the mycelium spreads and starts the real magic.
Inoculation: How to Create the Perfect Environment?
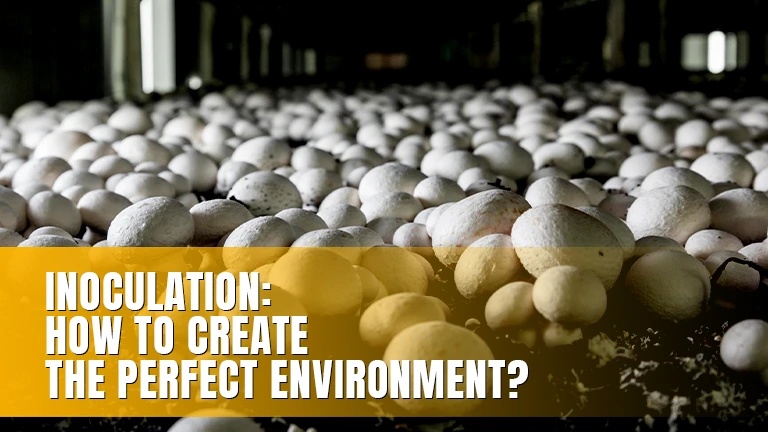
Incubation is when the mushroom mycelium spreads through the substrate, turning it white and preparing it for fruiting. This phase is important, and the right environment makes all the difference.
Where to Keep Your Bags or Buckets?
Here’s how to set up the perfect space for incubation:
- Temperature: Aim for a steady 20–24°C (68–75°F). A warm spot in your home, like a cupboard, boiler room, or even a closet, works well. Avoid placing them near heaters or drafts.
- Light: Incubation doesn’t require light. While pitch darkness isn’t necessary, indirect or low light is fine. Direct sunlight can dry out the substrate or overheat it.
- Humidity: Most bags or buckets hold in enough humidity naturally, but if the environment feels too dry (e.g., during winter), you can lightly mist the room or place a tray of water nearby to increase moisture levels.
- Airflow: While your bags or containers need some airflow, avoid areas with strong air currents that could spread contaminants.
Keep the setup out of the way of household traffic to prevent accidental bumps or contamination.
How Long Does Incubation Take?
The incubation usually lasts 2–3 weeks, depending on the type of oyster mushroom and the conditions. Here’s how to monitor progress without disrupting the setup:
- Visual Check: After the first week, you should see white mycelium spreading through the substrate. By the end of the incubation phase, the entire bag or container should look fully colonized (completely white).
- Avoid Touching: Don’t open the bags or poke at the substrate during incubation—this introduces contaminants and slows growth.
- Watch for Contaminants: If you notice green, blue, or black spots, that’s mold. Isolate the affected bag and dispose of it to avoid spreading contamination.
Once the substrate is fully colonized, it’s ready for fruiting—the stage where the mushrooms start forming.
Fruiting: How to Trigger Mushroom Growth?
Fruiting is when your hard work pays off, and mushrooms start popping up. It’s all about creating the right conditions to mimic what they’d experience in nature.
Light, Airflow, and Humidity: What Your Mushrooms Need?
- Light: Mushrooms don’t need sunlight, but they do need indirect light to know it’s time to grow. A room with soft natural light or a small lamp for 12 hours a day works fine.
- Airflow: Good airflow is key. Open a window or use a small fan nearby (not directly on the mushrooms) to avoid CO2 buildup, which can make stems too long and thin.
- Humidity: Spray the area around your bags or buckets twice a day with clean water. Aim for 80–90% humidity. Too dry? Use a humidifier or put a damp towel nearby.
When Will You See Mushroom Pins?
Pins are the tiny baby mushrooms that appear first. Here’s what to expect:
- Timing: Pins usually show up 5–7 days after you start fruiting conditions.
- What They Look Like: Small bumps or tiny mushroom caps popping out of the holes in your bag or bucket.
- Care: Keep spraying water around the area daily to maintain humidity, but don’t soak the mushrooms directly.
Once you see pins, you’re just a few days away from a full harvest!
When and How to Harvest Oyster Mushrooms?
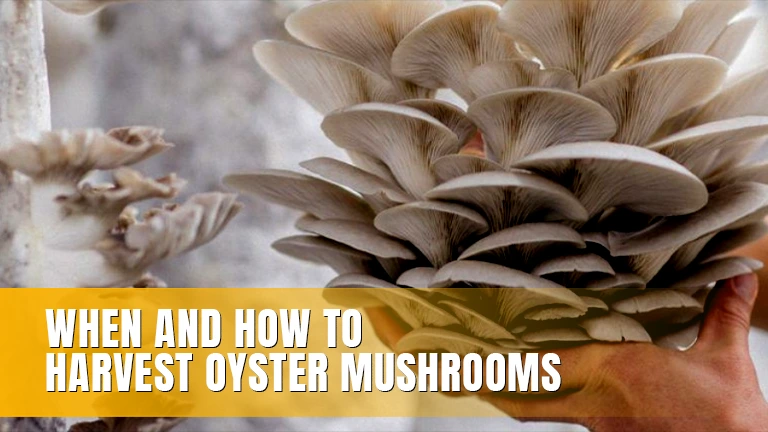
Oyster mushrooms grow fast, so keep an eye on them. You don’t want to miss the perfect window.
- When to Harvest:
- Look for when the caps are wide and flat but not flipping upwards. This usually happens 5–7 days after pins appear.
- If they stop growing or start dropping white dust (spores), they’re ready to pick.
- Look for when the caps are wide and flat but not flipping upwards. This usually happens 5–7 days after pins appear.
- How to Harvest:
- Use clean hands or a sharp knife.
- Gently twist or cut the mushrooms off at the base without damaging the substrate.
- Avoid pulling, as it can mess up the next crop.
- Use clean hands or a sharp knife.
After harvesting, you can dunk the substrate in water overnight to rehydrate it. In about 1–2 weeks, you’ll see new pins forming for a second (or even third) crop!
What Are the Best Ways to Cook Oyster Mushrooms?
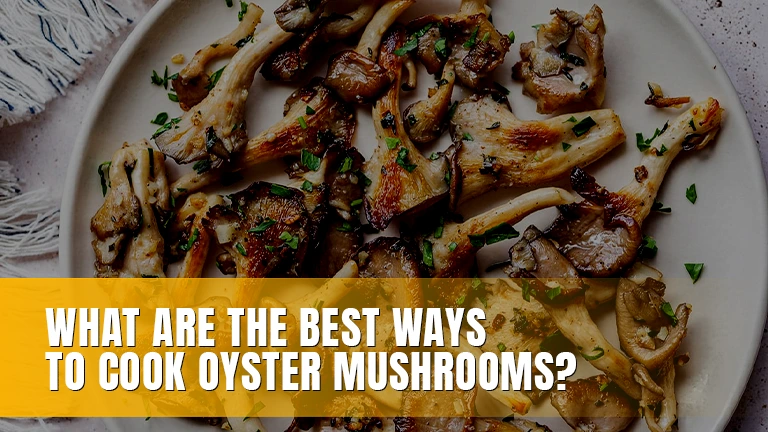
Oyster mushrooms are super versatile and taste amazing when cooked right. They’re meaty, flavorful, and can easily take the stage in any meal.
Quick and Simple Recipes for Oyster Mushrooms
- Stir-Fries: Slice them thin and toss them into a hot pan with garlic, soy sauce, and veggies. Cook for 5–7 minutes until tender. Perfect with rice or noodles.
- Soups: Add chopped mushrooms to broth-based soups like miso or chicken noodle. Let them simmer for 10 minutes to soak up all the flavors.
- Roasted: Coat them with olive oil, salt, and pepper. Roast at 400°F (200°C) for 15–20 minutes until crispy. Add to salads or enjoy as a side dish.
Can You Eat Oyster Mushrooms Raw?
Technically, yes—but they’re better cooked.
- Raw Texture: They can be chewy and slightly rubbery when raw.
- Flavor: Cooking enhances their earthy, nutty taste.
- Digestibility: Heat breaks down tough compounds, making them easier to digest and unlocking more nutrients.
If you’re in a hurry, you can toss thin slices into a salad, but for the best experience, cook them up!
Why Grow Oyster Mushrooms?
Because it isn’t just fun—it’s rewarding. Here’s why:
- Immune Support: Packed with antioxidants and beta-glucans, they help boost your body’s defences.
- Rich in Nutrients: High in protein, fibre, and essential vitamins like D and B12.
- Heart Health: They contain compounds that can help lower cholesterol levels.
- Low-Calorie Superfood: Perfect for anyone looking to eat healthy without sacrificing flavor.
Are Oyster Mushrooms Easy to Grow for Beginners?

Yes, they’re one of the easiest mushrooms to grow!
- Why They’re Beginner-Friendly:
- They grow fast—sometimes in as little as 3–4 weeks.
- They thrive on simple substrates like straw or coffee grounds, which are easy to find.
- They don’t need fancy equipment—just some bags, a clean workspace, and basic tools.
If you’re new to mushroom growing, oyster mushrooms are the perfect place to start. You’ll get a solid harvest without a ton of effort, and they taste amazing in just about anything!
Conclusion
Growing oyster mushrooms is super easy and pretty fun. Once you get started, it’s just about keeping things clean and waiting for those mushrooms to do their thing. They grow fast, taste amazing, and have health perks like boosting your immune system.
The best part? You don’t need a fancy setup or a ton of experience. Just follow the steps, stay patient, and you’ll have fresh mushrooms ready to cook in no time. Whether you stir-fry them, toss them in soup, or roast them, there’s no beating the flavor of mushrooms you grew yourself.